
Start From Scratch
Create your team's first private ACT Playbook workspace from the template.
Visual Studio Code is your workspace
Visual Studio Code gives you one straightforward workspace for your files, collaboration with colleagues, AI agents, the ACT Playbook MCP server, and the other tools you need, so you do not need technical expertise or several separate applications to get started.
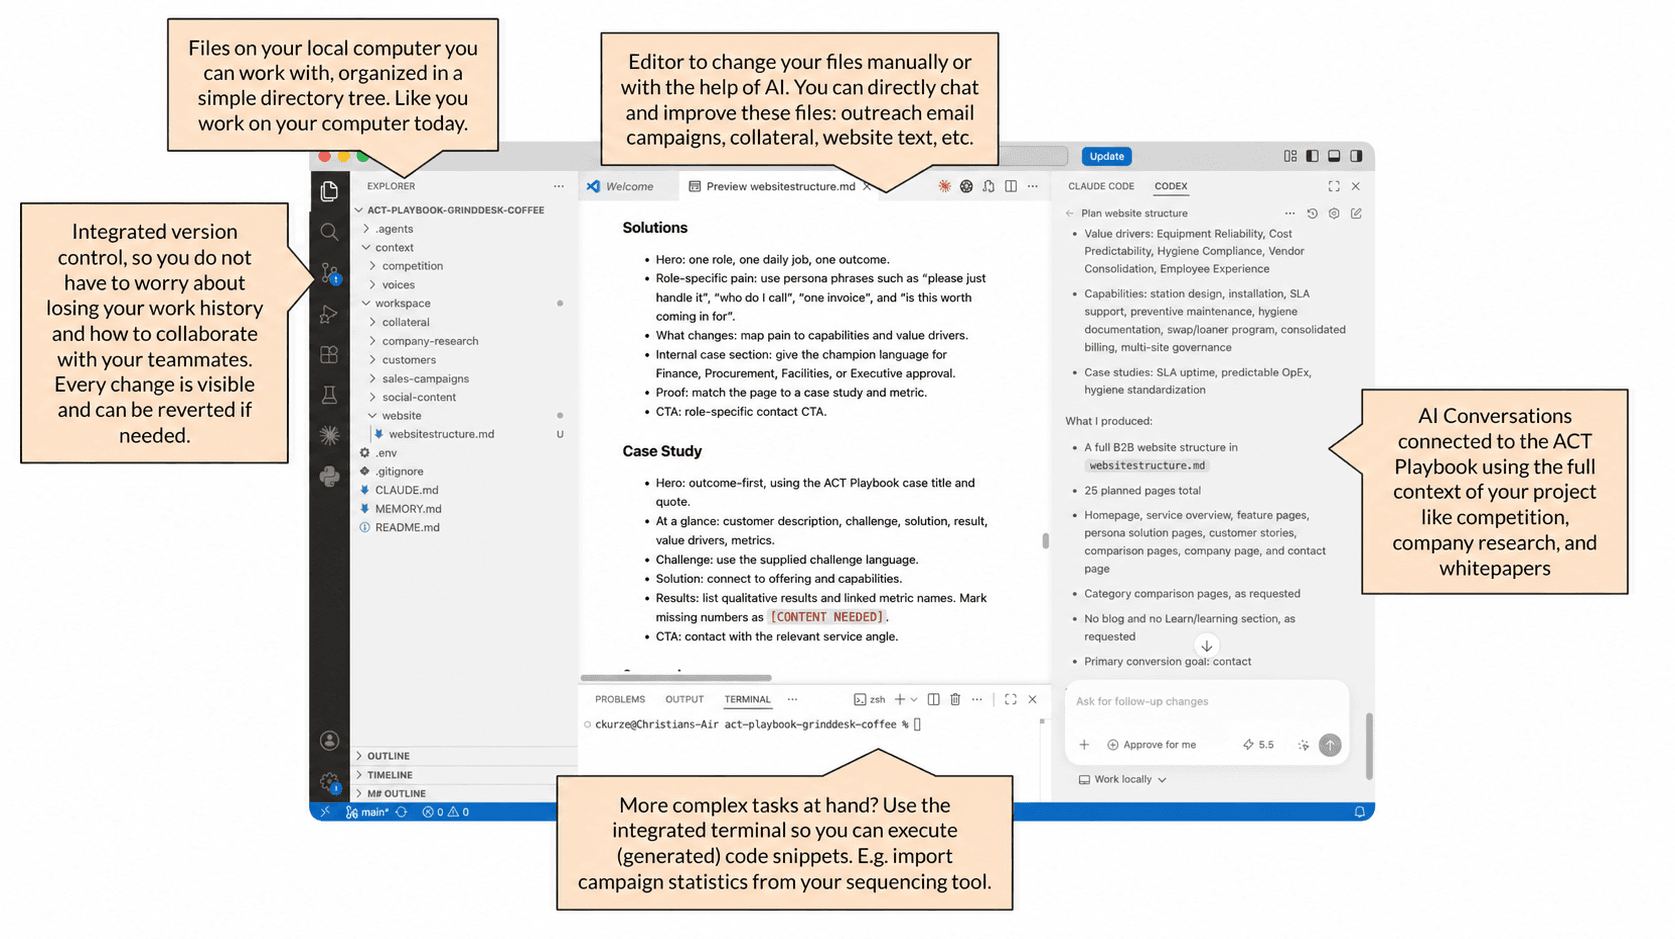
Keep the repository private because it can hold customer information, strategy, pricing, research, and local configuration.
Step 1: Install Visual Studio Code
Download Visual Studio Code for your computer and complete its installer.
On macOS, open the Command Palette with Command Shift P, search for Shell Command, then run Shell Command: Install 'code' command in PATH.
Open Visual Studio Code and use its menu to select Terminal, New Terminal. The integrated terminal opens at the bottom of the editor. You will use it for the remaining command-line setup steps.
You should see a terminal panel at the bottom of Visual Studio Code.
Need help: Troubleshooting.
Step 2: Install an AI agent extension
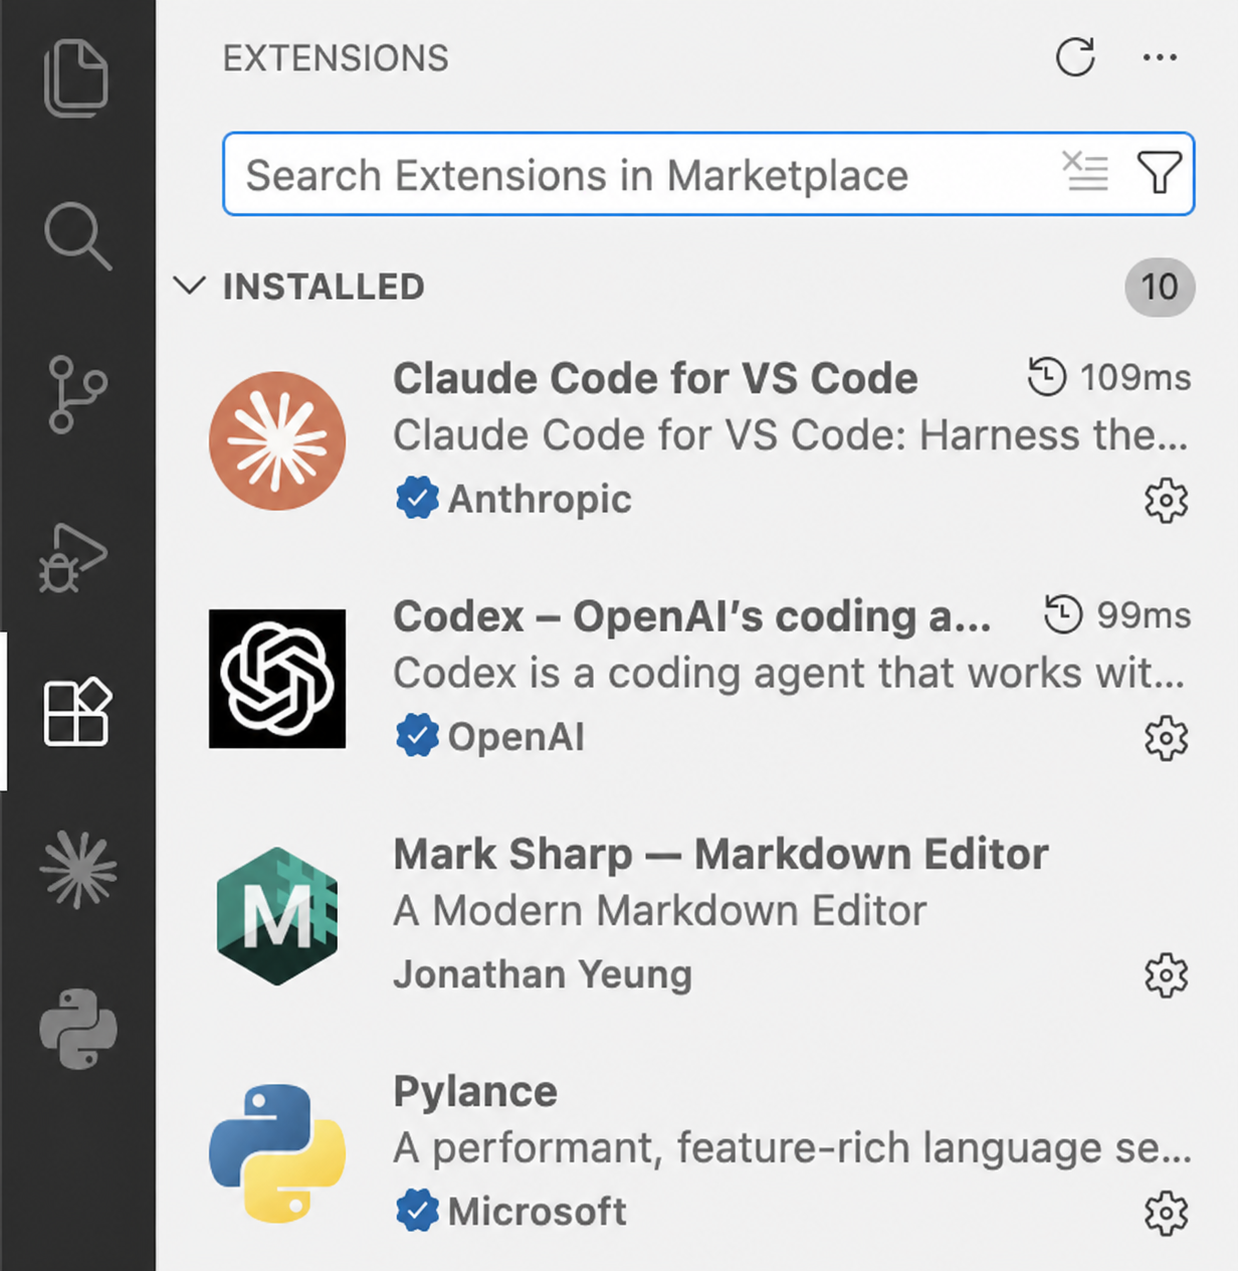
Install one AI agent extension in Visual Studio Code. If you already have one installed, keep it and sign in with the account you want to use. VS Code calls these plugins extensions.
Open Extensions with Command Shift X on macOS or Ctrl Shift X on Windows and Linux. Search for Claude Code, install the extension from Anthropic, then sign in when prompted. You can also open the Claude Code VS Code setup guide.
Open Extensions with Command Shift X on macOS or Ctrl Shift X on Windows and Linux. Search for Codex, install Codex, OpenAI's coding agent, then sign in with your ChatGPT account. You can also open the Codex IDE extension page.
Install the official VS Code extension for your selected agent, then sign in with your agent account.
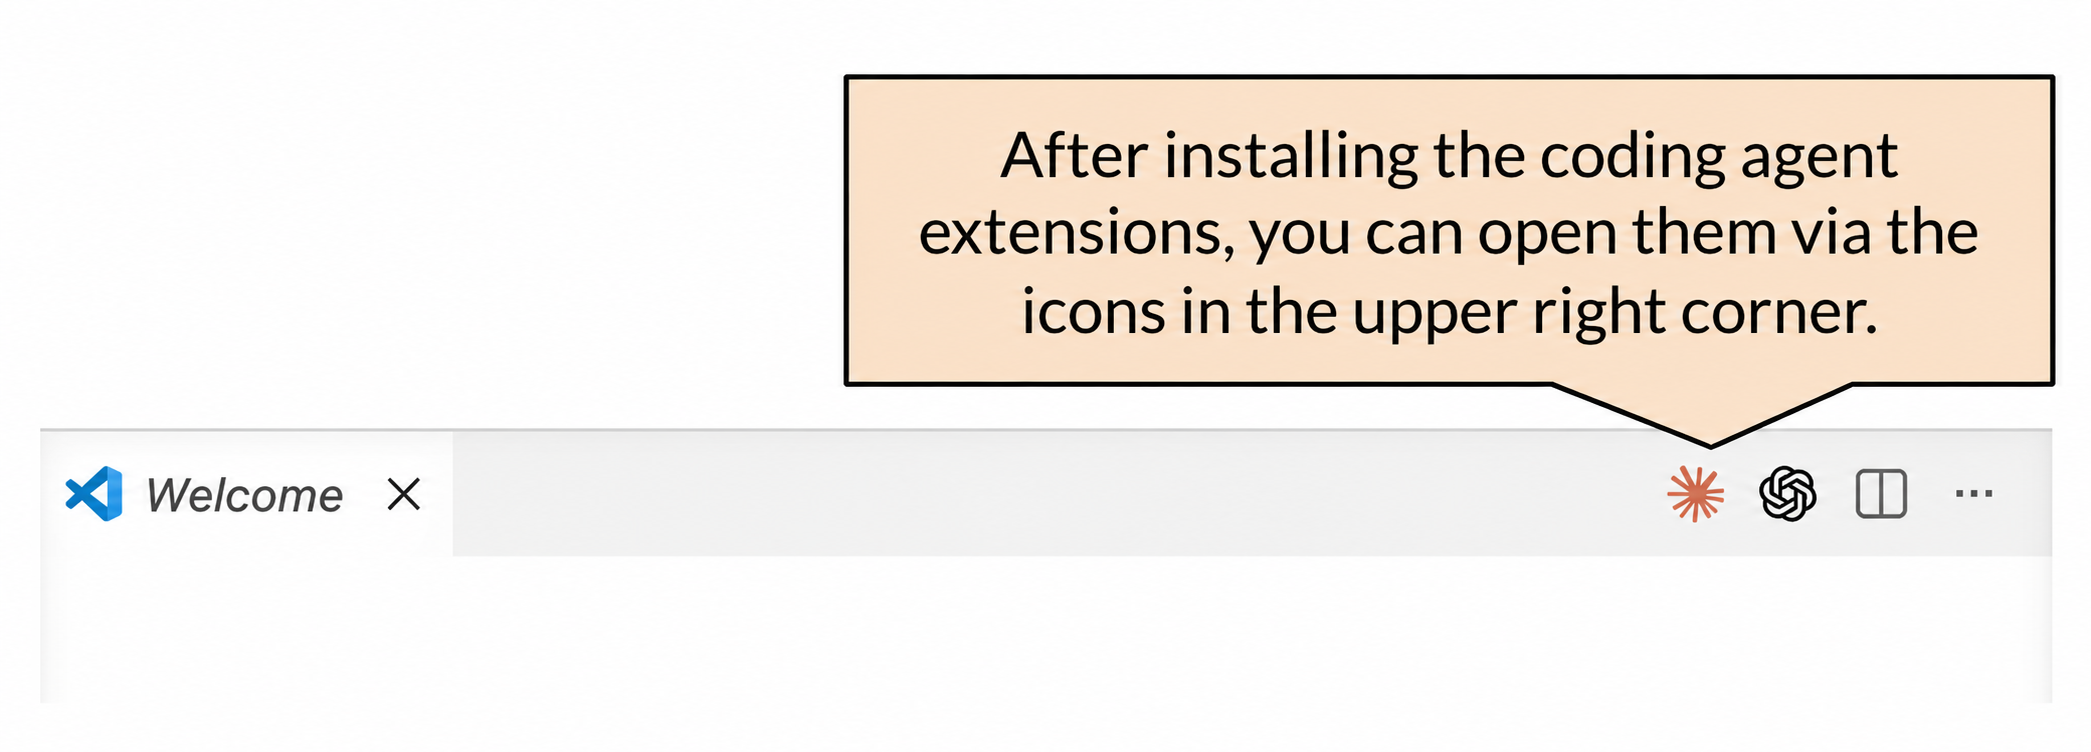
After installing a coding agent extension, click its icon in the upper-right corner of the editor to open its panel. The Claude Code panel, the Codex panel, or the equivalent panel for your selected agent should open when you click its icon.
Need help: Troubleshooting.
Step 3: Install Git and GitHub CLI
Use the integrated terminal in Visual Studio Code to install Git and GitHub CLI.
We recommend Homebrew as the package manager for macOS. If it is installed, run:
brew install git ghOtherwise install Git and GitHub CLI from their official installers.
winget install --exact --id Git.Git
winget install --exact --id GitHub.cli
Close the terminal and open a new integrated terminal after installation.
sudo apt update
sudo apt install git gh
git --version
gh --versionYou should see a version number for Git and GitHub CLI.
Step 4: Configure Git and sign in to GitHub
Set your commit identity and sign GitHub CLI in through the browser.
git config --global user.name "YOUR NAME"
git config --global user.email "YOUR VERIFIED GITHUB EMAIL"
git config --global init.defaultBranch main
git config --global pull.rebase false
git config --global push.autoSetupRemote true
gh auth login
gh auth setup-gitChoose GitHub.com, HTTPS, and browser sign-in when prompted.
git config --global --get user.name
git config --global --get user.email
gh auth statusYou should see your name, verified GitHub email, and a successful GitHub account status.
Need help: Troubleshooting.
Step 5: Create the first private repository
Create your team's first private repository from the ACT Playbook template.
Store the workspace in a regular local project folder, not in Dropbox, iCloud Drive, OneDrive, or any other automatically synced folder. GitHub is the shared copy for this workspace.
gh repo create act-playbook-your-company --private --template act-playbook/act-playbook-templateIf GitHub CLI asks for an owner, choose the personal account or GitHub organization that should own the workspace. Copy the URL it shows for the new repository.
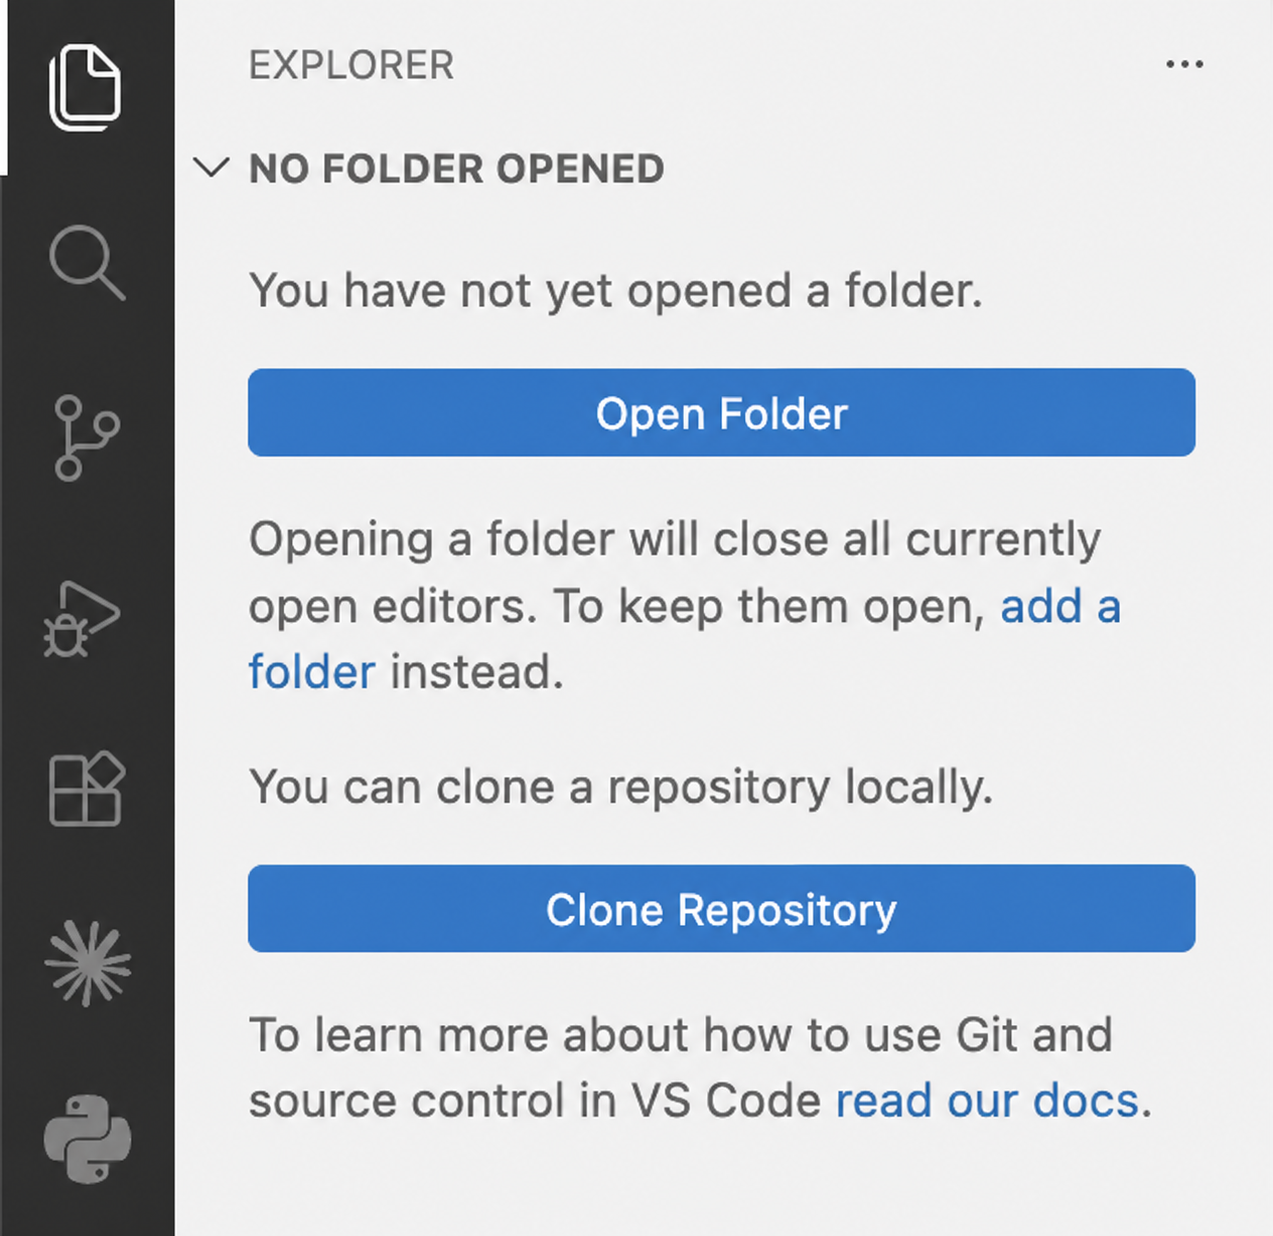
In Visual Studio Code, open Explorer from the left sidebar and select Clone Repository. Paste the new repository URL. When Visual Studio Code asks where to save it, choose a regular local project folder that is not automatically synced. Visual Studio Code then clones and opens the repository for you.
git remote -v
git statusYou should see origin pointing to your private repository and a clean working tree.
Need help: Troubleshooting.
Step 6: Install ACT Playbook skills
Install the ACT Playbook skill pack for the agent you installed.
gh auth status
gh skill install act-playbook/act-playbook-skills --all --scope userWhen the installer asks which agents to configure, select your chosen agent. Restart or reload the agent after installation.
List the installed ACT Playbook skills available in this workspace. Do not change any files.You should see ACT Playbook skills for value architecture, company voice, competitive intelligence, website work, SEO, and website audits.
Need help: Troubleshooting.
Step 7: Connect ACT Playbook MCP through OAuth
Add ACT Playbook MCP so your agent can access the organization you authorize.
Sign in with the ACT Playbook account that belongs to the intended organization. OAuth credentials belong in the agent's credential store, never in repository files.
In ChatGPT, enable Developer mode in Settings, Security and login. For Codex desktop or IDE, open Settings, MCP servers, Add server. Use name ACT Playbook MCP, URL https://actplaybook.com/api/mcp, transport Streamable HTTP, and OAuth authentication. For Codex CLI, run:
codex mcp add act-playbook --url https://actplaybook.com/api/mcp
codex mcp login act-playbook
codex mcp listIn Claude web, open Customize, Connectors, Add custom connector. Use name ACT Playbook MCP and URL https://actplaybook.com/api/mcp. For Claude Code, run:
claude mcp add --transport http act-playbook https://actplaybook.com/api/mcpThen enter /mcp, select act-playbook, and complete OAuth.
Add https://actplaybook.com/api/mcp as a remote Streamable HTTP MCP server and use the agent's OAuth sign-in action.
Use the ACT Playbook MCP server. State the connected organization and list the available customer profiles, personas, value drivers, and offerings. Do not change any files.You should see the intended ACT Playbook organization.
Need help: Troubleshooting.
Step 8: Run the final verification
Confirm the tools, repository, skills, and MCP connection from the workspace.
code --version
git --version
gh --version
git remote -v
git status
git config --global --get init.defaultBranch
git config --global --get pull.rebase
git config --global --get push.autoSetupRemoteRead the repository instructions, MEMORY.md, and the top-level directory tree. Explain where company context belongs, where generated work belongs, where project-specific skills belong, and which writing and memory rules apply. Do not change any files.You should see tool versions, your private repository remote, main, false, true, installed ACT Playbook skills, and the correct ACT Playbook organization.
Need help: Troubleshooting.
Success
Your AI workspace is ready when Visual Studio Code is open at the private repository, the agent can read the repository, ACT Playbook skills are available, and ACT Playbook MCP shows the intended organization.
Next: Work with your team or Optional integrations.